[CHECKLIST] 4 Steps To Do Social Media Marketing
May 06, 2021
D.R.I.P Post Checklist
Use this handy checklist so you can quickly create new blog content. Keep in mind that a blog post can be written, filmed (video) or audio only (podcast).
D - Develop Your Blog Post
In this first phase you’re going to want to do proper research for creating your blog post. What separates first class writers from everyone else is their ability to properly research their content. This performs two specific goals. The first is that the reader get exactly what they are looking for (because you’re basing your post off of finding out what content readers like). Second, it helps your content get noticed (because you’re inserting SEO keywords into your content).
1. Come up with a Great Concept
As we say in Hollywood ‘It’s all about your content’. If the idea you’re basing all your efforts on is not solid, then your ideas won’t hold up. Great content should educate and entertain. You can come up with great concepts by simply reading other content, talking to your Audience and checking out popular books on your topic on Amazon.
2. Find Keywords
After you have a great concept, you’re going to want to find what keywords (and phrases) your Audience types into Google to search for these terms. The data you find might surprise you!
- Use Keyword.IO* to find the most relevant keyword phrase that gets the most monthly searches.
- Write down your primary Keyword / Keyword Phrase. Ex: ‘How to leash train a puppy’
- Write down 2-3 related keywords and make sure you put these in your article. You can easily do this by typing your keyword phrase into Google. Near the bottom of the Google search results page you’ll see ‘Searches Related To’ info. Pick 2-3 of these words to also include in your content.
*Make sure you’ve signed up for a free account.
3. Verify the Content is Popular
After you know your keywords, you’ll want to verify that what you think your Audience wants is really what they want. It’s too risky to invest your time making content if no one is going to care. If your concept is trending down and there is very little (if any) engagement on similar posts then find a new concept!
- Check Google Trends. This will help you make sure your concept is trending up, not down. This helps you insure that your content will be relevant for the immediate future. https://www.google.com/trends/explore
- Check buzzsumo.com. Buzz sumo tells you how many social shares and backlinks a piece of content has received. This is invaluable to help you verify that other writers have tackled your concept, and more importantly, that Audiences are engaged with that content. The more people who engage on your content in social media, the more Google can see your content is popular and therefore they show it in search results. Verifying your concept on BuzzSumo will save you tons of time in the long run. Write down the name of the top articles and the their URLs into a ‘Content Research Text File’ so you can refer to them later.
- Check Youtube. Doing a Youtube search for your keyword phrase will let your verify that your concept is popular in video form. You can see how many views and comments other people’s content around your concept is getting. If the results you see are very poor you should find a new concept! Write down the name of the top videos and the their URLs into a ‘Content Research Text File’ so you can refer to them later.
- Amazon Books. Check out books on Amazon. Look at how many people rated and commented on these books in order to determine which titles are the most popular. Then look at the 5 star comments. What parts of the book do people like? This helps you focus on what people like so you can avoid writing about parts of your topic that may bore them. Next look at the 1 star comments. Why do people hate the book? This should clue you into how you can improve the content and give your Audience what they want! Write down the name of the books and the their URLs into a ‘Content Research Text File’ so you can refer to them later.
- Udemy Courses - Finally you should check Udemy and verify they have courses on your topic. if they do, look at the course structure to see what specific solutions they’re offering. Next look at the comments to what people like about the topic. Write down the name of the classes and their URLs into a ‘Content Research Text File’ so you can refer to them later.
4. Outline Your Content
In this step you’ll want to map out the basic structure of your content. You should always include an intro paragraph that tells your Audience what they’re going to learn, or be entertained about. You must also include an ‘outro’ paragraph that sums up what they learned and offers a call to action. A call to action can be to ask a specific question (that your Audience should comment on) or for them to take a specific action (like downloading your ‘content Treat*’).
- Analyze your Data. Use your ‘Content Research Text File’ to check the structure of the top pieces of content you found. What topic elements seem to appear over and over in each piece of content? How do the authors structure their content?
- Make a list of bullet points. This will help you outline your content.
- Find 2-3 resources you can quote or link to. In order to make your content world-class (and make Google happy), you’ll want to refer to trusted resources (like Wikipedia or an Influencer in your niche). Write down the URL of the pages you find in your ‘Content Research Text File’.
- Make sure you have an intro paragraph that sums up the benefits to the reader.
- Make sure you have an ‘outro’ paragraph that sums up what the reader learned and a Call-To-Action (typically to download your Content Treat).
*A Content Treat is a free thing (PDF, Audio, Video) that compliments your content. You can give this away in order to add value to your Audience, and to help you grow your Email list so you can market your Brand.
5. Write an Amazing Title
No one will read your content if the title sucks! Therefore I suggest you come up with a great title (or 2-3 of them) before you start writing your content. Imagine that the best title you can create is a ‘Top 10’ list. That means you’d need to make a list of 10 things in your content. Keep in mind that a great title should invoke curiosity so people click.
- This title should include your keyword phrase or search terms.
- Between 40-69 characters.
These 2 tools suggest quirky titles that may invoke interest:
- http://www.buzzfeed.com/awesomer/what-would-the-buzzfeed-post-about-you-be-called
- https://www.portent.com/tools/title-maker
Here are 2 Headline Analyzer Tools:
Use this Tool to get proper capitalization:
Layer in Emotional Words
Use this list: http://www.thepersuasionrevolution.com/380-high-emotion-persuasive-words/
6. Write Your Content
Now you’ve got a great outline based off popular content, and you’ve got an amazing headline that has the highest likelihood that it will invoke curiosity. Next you’ll want to write your content. The easiest way to do this is to outsource it. The second easiest is to record a video. Then you’d get it transcribed and have a writer polish it up. The hardest (but my favorite method) is to simply sit your ass down and write it! You’ll need focus time to do this, which is why great writers usually have a secluded sunlit office.
When writing your content, you must always think about the Audience Experience! That means keeping the content streamlined and clear, getting right to the point, making it actionable (lots of step by steps), keeping it visual (images and infographics) and making it easy to skim (small paragraphs and lots of ‘white space’ on the page).
When writing, the goal is to get through to the end. That means you should not constantly stop to rewrite the sentence before, or to fix a spelling error. Doing this will cause you to lurch forward which kills your creativity. Trust the process and get your first draft done as quickly as possible. It won’t be great! Knowing that you can let yourself off the hook so you can get that first draft done (and then fix things in the second draft).
- Opening paragraph should tell the Audience what they can expect.
- Break large paragraphs into 1, 2 or 3 sentences.
- Use Section Headlines.
- Use bullet points where necessary.
- ‘Outro’ paragraph sums up what the Audience just learned.
- Ask a clear question at the end to encourage comments.
- Place a clear call-to-action at the end for readers to get your Content Treat.
- You should have Blog Post Categories set up within Wordpress. These help keep your posts organized. Determine what this post’s category will be.
7. Create a Content Treat
Remember that a Content Treat is the free thing you offer that compliments your new content. If you follow our Visionary Planner training, you’ll know that you will create 3 Free Treats. Therefore you’ll want to pick which Free Treat is most aligned with your latest piece of content. In some cases, you may want to create an additional piece of free content that you can give out along with your Free Treat.
For example, your blog content might be ‘Top 10 Tips To Leash Train Your Puppy’ and your Free Treat might be ‘Puppy Training Secrets Revealed’. You might want to create a checklist of the Top 10 Leash Training Tips to further enhance your blog content and Free Treat. Since you’ve already written the 10 Tips, it takes very little additional energy to create a one page PDF cheatsheet.
- Use your pre-existing Free Treats (if possible).
- Create a checklist or cheatsheet based off your new content (if possible).
- Worst case scenario is you turn your content into a PDF that you can give away.
8. Plan Images
It’s very important that you make your content as visual as possible! After all, us humans are mostly visual creatures. Looking at a blog post that is all text is about as much fun as going to the dentist!
- Try to have an image every 350 words to keep things visual.
- Make a vertical image that can be pinned to Pinterest (vertical images work best on Pinterest).
- Be sure to rename your image files with your keyword phrase. Ex: IMG_1234.jpg gets renamed to Keyword.jpg
Find free Stock Images here:
- http://www.freeimages.com
- https://pixabay.com
- https://unsplash.com
- http://photopin.com
- http://www.publicdomainpictures.net
- http://nos.twnsnd.co
- http://pickupimage.com
- http://publicdomainarchive.com
- http://www.splitshire.com
- http://libreshot.com
- http://skitterphoto.com
- http://skitterphoto.com
- https://commons.wikimedia.org/wiki/Main_Page
- http://www.pdpics.com
Want to get your ass sued off by a pissed off photographer? I didn’t think so. So why not read this legal info on using Stock Pics: http://www.stockphotorights.com/faq/
Use Canva to add text to images: Canva.com
9. Add Influencer’s Thoughts
You may have done this in the research task in Step 4. But just in case…
Your niche is full of brilliant minds. And some of the these brilliant minds have large fan followings. We call them ‘Influencers’ because they influence the lives of so many of their fans. Just like you, they’re running a business and run out of content ideas. You can use this to your advantage and help them to help you. How so? You can feature their quotes and concepts in your new content. Since they have an ego they’ll most likely want to share your content (that mentions them). This helps you get noticed by their fans which grows your list (and Authority). For this reason, I suggest you try to include the thoughts of an Influencer in your content in hopes that they might share it. Even if they don’t, you’re still adding more value to your Audience.
- Try to add a quote from a top Influencer.
- Write to top Influencers for a SHORT quote about your topic. (Don’t ask them to do anything that takes more than 3 minutes. They’re busy and don’t know you!)
10. Proofread
Top writers will finish their article then ‘sit on it’ for a day or two. This lets them come back to their article with fresh eyes and create a second draft. At this point they can clear up anything that is confusing. Because we are always our own worst enemies, great writers will then have an Editor review their work. Great Editors will help refine the content (to make it as clear and ‘to the point’ as possible. They’ll also help with formatting and editing errors.
- Re-read your work (Content and Content Treat) to make sure it’s clear.
- Make sure your images make sense with the content.
- Have your Editor check for spelling, grammar and clarity mistakes.
R - Release Your Content
In this Phase you’ll take your written article and post it on your blog or social media channel. Keep in mind that you can easily outsource this process.
1. Post and Schedule Content
In this step you, or a Team Member, will paste your content onto our Wordpress site (or social media channel like a Tumblr or Linkedin post). The post will also get scheduled (does it go out now, or sometime in the future.)
- Paste your content into Wordpress or your Social Site.
- Set Your Publishing Date. Wordpress lets you easily set your post to schedule now, or in the future. A great paid plugin to help larger teams manage their content publishing schedule is CoSchedule. http://coschedule.com
- Set the Author. You want your post’s Author to be set to you (or whomever wrote the article). Make sure you have an account at Gravatar where your Headshot image is uploaded. Then make sure your Wordpress author profile email is registered in Gravatar. Gravatar will then link your photo up with your Wordpress site so your image shows up in the Author box.
2. Build Links
Once your content is posted onto your Wordpress site, you need to prepare it for maximum ‘Google-ness’. One of the ways to make Google happy (and give a great Audience Experience) is to build links. There are 2 types of links. Links from your site to other sites, and inter-links where your site’s pages interlink.
- Link out to 2 Authority Sites (you researched these in Phase 1’s Step 4). This shows Google you’re not afraid to recommend quality content. Use Open Site Explorer to check the ‘Authority’ of the page. This is what Google looks at to see if site’s are legit or not. In order to hep boost your content, only link to pages with page Authority of 30 or higher.
- Hyperlink keywords to 2-3 other content pieces on your blog. A ‘hyperlink’ is when a word or phrase is linked. This tells Google that the page you’re linking to has something to do with the words that have been hyperlinked. In other words, if your blog post B is about ‘101 dog tricks’ then you’d want to link the words ‘dog tricks’ in blog post B. This creates a ‘link wheel’ on your site that makes Google happy!
- Make all links open in a new window. This gives a great Audience Experience. I prefer to have new tabs open so I can always go back to the earlier page I was reading.
3. SEO Your Content
Using Wordpress? Download and use this the Yoast SEO Plugin: https://wordpress.org/plugins/wordpress-seo/ This plugin is all you need to make sure you have solid SEO on your site. Remember that SEO (Search Engine Optimization) is what allows Google to determine what your site is about. If you don’t make Googles life easier, they are not going to be able to send you traffic from search results. Doing SEO takes a little bit more time, but it’s fully necessary.
Once you have pasted your edited piece of content into Wordpress you’ll want to optimize it for SEO. Let’s be real…SEO terms sounds technical and scary (‘alt tags’, ‘metadata’,’meta description’) but they’re really very simple. Push past your comfort zone so you can see how truly easy this all is!
- Add at least one image that has your keyword in the file name. Ex: IMG_1234.jpg becomes Keyword.jpg
- Fill out the Meta Data for your images. Ever share an image on social media and see text appear? That’s because someone filled out the ‘Alt Text’ attribute. Make sure you do this by including your keyword, the Audience Benefit (ex: ‘Discover 10 easy tips to leash train your puppy’) and your call-to-action to get visit your site to get your Free Treat (ex: ‘Visit MySite.com to discover 10 easy tips to leash train your puppy without getting frustrated’ ).
- Add your keyword to your title.
- Name your Permalink after your Keyword Phrase. A permalink is the name of your page. (ex: ‘http://YourSite.com/permalink)
- Add a featured Image. This is the image that gets shared on social media and that shows up as your page’s thumbnail within Wordpress.
- Add Tags. Tags are a great way for you to very clearly tell Google what your keywords are.
- Add your post to a category. This helps your posts stay organized.
- Fill out all the data in the Yoast SEO plugin (this is called Meta-data).
- Make sure your Meta Description is between 135-160 characters. (The Meta Description is the bit of text that shows up in search results).
- Add Social Media Meta Data
4. Add a ‘Click To Tweet’
This step is optional, but it can get you some additional traffic if your niche has a lot of followers on Twitter. This is where you highlight specific areas of text (like a quote or statistical fact) and make it ready to tweet.
- Use this Wordpress Plugin: https://wordpress.org/plugins/better-click-to-tweet/
- Use SumoMe’s ‘Highlight’ feature: https://sumome.com/app/highlighter
5. Link to your Content Treat
If you followed my advice, you’d know that the only way to build your email marketing list is to give them a reason to give you their email.
This is where your Content Treat and Free Treats come in (this is something free that you give people in exchange for their email). Remember that the Content Treat is a free digital asset you create that compliments your latest blog post. Your Free Treat is more broad, and it covers your topic.
Assuming you have either a Content Treat or a Free Treat (or both) you’ll want to link it up to your page so your Audience can access it. This means you’ll want to use a paid tool like Clickfunnels to create a ‘Squeeze Page’. When you do this, you’ll get a piece of code called a ‘ClickPop’. This is a short snippet of HTML that you can hyperlink to text on your page (or if you want to be fancy, you can create an image that ‘sells’ the viewer to click it). Once the viewer clicks your text or image a popup will appear that asks for their email. Once they submit it Clickfunnels will send them the Content Treat, and they’ll be added to your Autoresponder Email list that should have your Free Treat already set up to email out.
- Create a squeeze page in Clickfunnels
- Upload your Content Treat PDF to Clickfunnels
- Generate the ClickPop HTML Code
- Embed it on your site (either as a text or image hyperlink).
- Test it out! Use a testing email address to verify everything is working as planned.
6. Preview It
After you (or your Team Member) has done all the technical stuff, its time to do one last review of your blog post. Make sure it looks solid!
- Make sure it looks great!
- Use BrowserStack to see how your content looks in different browsers.
I - Inform Your Audience
Here you will tell the world about your post. The following steps are best practice to get the word out!
Here is info about proper social media image sizes: Create an image: http://sproutsocial.com/insights/social-media-image-sizes-guide/
If you’re using Canva to make images, they have image sizes already programmed into their software. Just select the type of image you want to create and they’ll automatically give you that size.
For added value, I suggest you process all your links into bit.ly. bit.ly is a URL shortening service that not only makes your URLs shorter, it lets you track all clicks. This is very helpful for you to see where your site visitors are coming from. Word of caution though…using the bit.ly links doesn’t yield the highest click throughs (its as if people hate all links that start with ‘bit.ly’, so I suggest you buy a custom URL and integrate it with bit.ly. They have info on how to do this, and you can outsource setting this up to a programmer on fiverr.com. An alternative to bit.ly (that gives even better data) is running all your links through Google’s UTM parameters tool then placing those into bit.ly while using a custom link. I know it all sounds incredibly technical but its really very easy. Figure out how to do it then get your Team Members to do this for you.
I suggest you invest in Edgar. It’s a social media posting tool that will let you fill up a ‘queue’ of social media posts then automatically schedules them to be published to Facebook, Linkedin and Twitter.
1. Pin to Pinterest
If you included custom images (infographics you created, or photos you took) in your post, then you’ll definitely want to share them on Pinterest. Before you do this step we recommend you create a Pinterest board just for your blog posts.
- Pin custom blog post images to your ‘blog post’ board.
- Then pin to other posts (along with other pins to make this look natural) over the next few days.
- Schedule your Post to be pinned onto group boards.
2. Share on Facebook
Facebook is the king of social media, and everyone (including my mom) is on it.
- Write a text blurb that includes a link to your Wordpress Blog Post.
- Create an image (use Canva).
- Schedule on Facebook.
- Add to rotation with Edgar
3. Share on Twitter
I’m not sure how much longer Twitter will be around for, but they sure do give nice backlinks! For that reason, it’s best to post links to your content here.
- Write a text blurb that includes a link to your Wordpress Blog Post.
- Create an image (use Canva).
- Add your Hashtag
- Schedule on Twitter.
- Add to rotation with Edgar
4. Share on Google +
Yes I know, no one uses Google+. But Google uses it! And Google uses it to check for backlinks. That means that even if you never use this withering social media site, you should always post links to your content.
- Write a text blurb that includes a link to your Wordpress Blog Post.
- Post your Facebook or Pinterest Image and Blurb.
5. Send A Newsletter
It’s a really solid idea to always let your list know about your new Episode posting to your site. This simply means you’ll want to create weekly newsletter and write a short message about why everyone on your list will benefit by reading your latest post. You’ll want to have a great subject line (this should be your content’s headline), tell them ‘what’s in it for them’, include a graphic and have bullet points to cover the big ideas of what they can expect.
- Create a template you can resume each week.
- Include a link to your new post.
- Proof-read the newsletter text.
- Send yourself a test email and verify the links work.
6. Reach out to Influencers
We talked about Influencers in Phase 1. If you did mention an Influencer in your content you’ll want to reach out to them here. You can email them (check their site for contact info) or hit them up on social media.
- Use Followerwonk to find Influencers.
- Email them to ask them to share.
- If they share, or write you back, be sure to send them a thank you message!
7. Run Ads
- Promote your Facebook Post about your new blog post
- Create a short ‘teaser’ video that you promote on Facebook
P - Participate & Engage
1. Respond to Comments
Doing this helps you build your community and make them feel important.
- Do this on your blog
- Do this on social media
- Thank ReTweeters
2) Check your Newsletter Open Rate
You will want to share your best content in upcoming months.
3) Check Post Analytics
Check your Google Analytics each month to see which of your posts are getting you the most traffic. This should tell you what your most popular topics are.
Wrap Up:
If you're a coach, consultant, artist, influencer...anyone who wants a step-by-step process to startup online in a year or less, and get the freedom, income and impact you envision for yourself, then we're glad you found us!
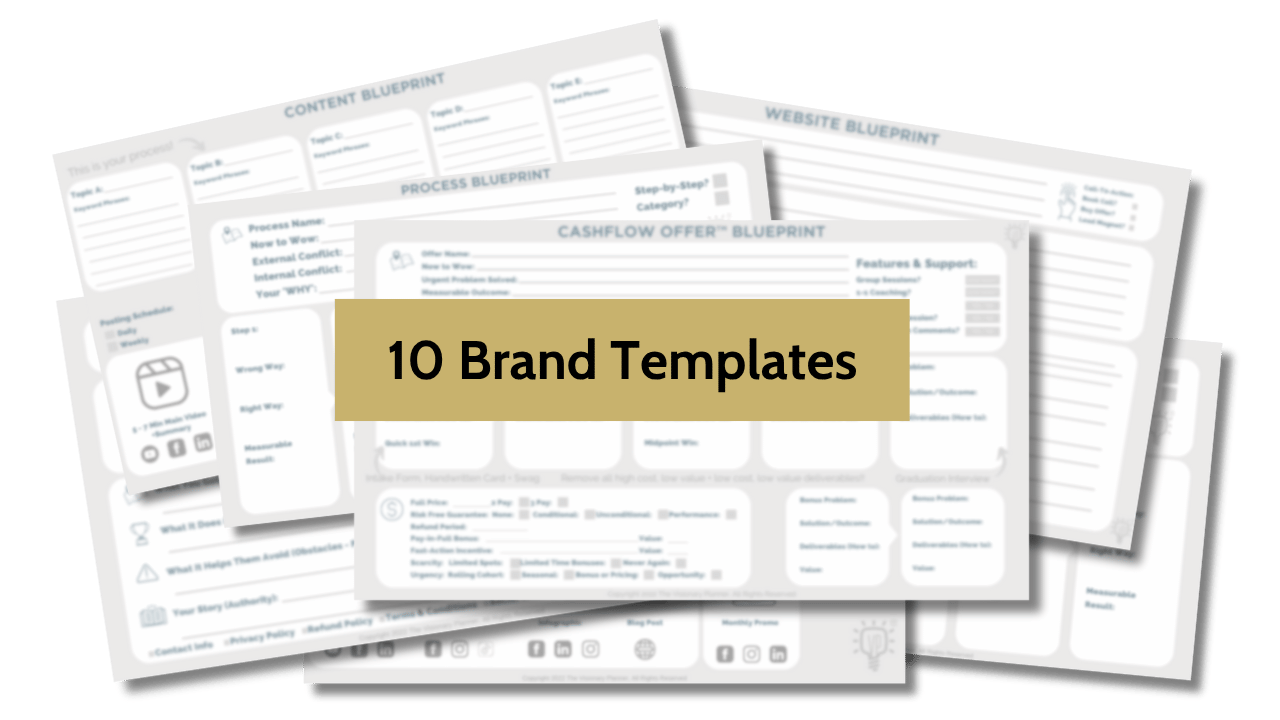
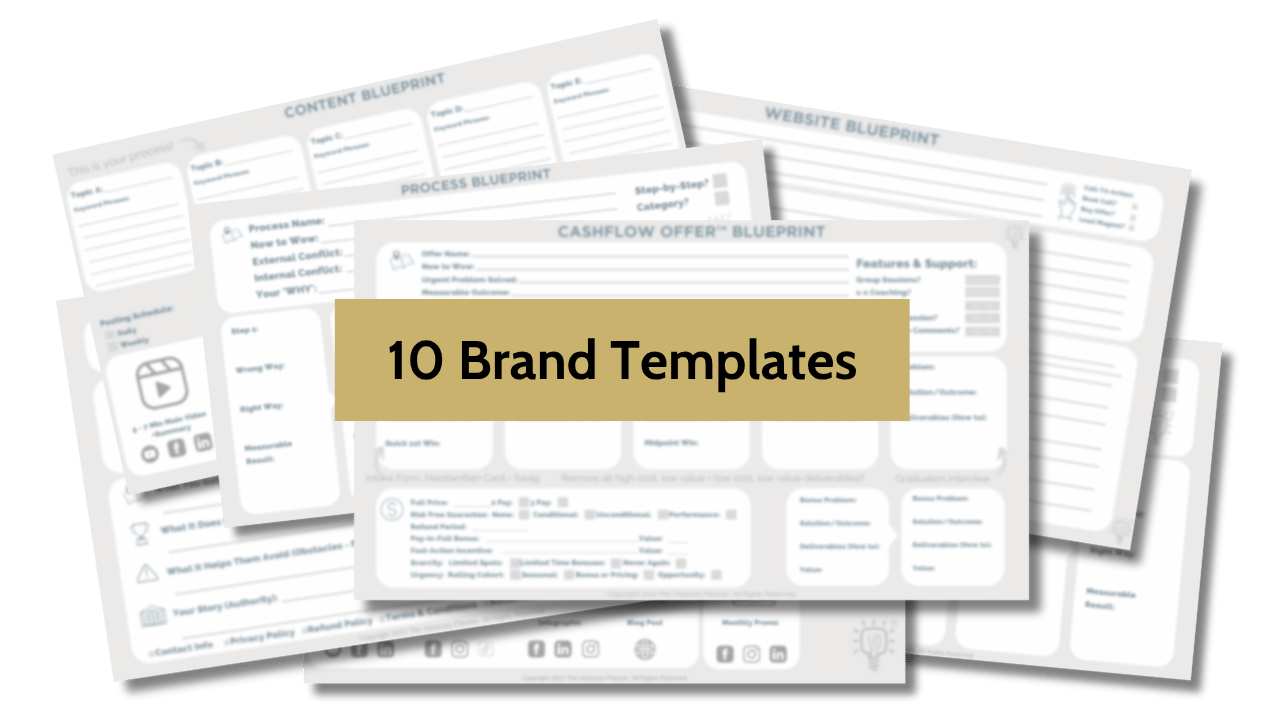
Unlock Our Brand Vault (Free)
Get instant access to the 10 brand tools we use with our $4,200 clients. These frameworks have helped B2B leaders land premium clients, get featured on top podcasts, and clarify messaging that converts, without overhauling their website.
We hate SPAM. We will never sell your information, for any reason.
Author